Adding a touch of handmade decor to your home or an event is always special. Fabric bunting is one of the easiest DIY projects that can instantly liven up any space. Whether it’s a birthday party, wedding, holiday, or even just sprucing up your living room, fabric bunting is versatile enough for any occasion.
Read on as we explain how to make classic bunting, fun ideas for decorating with it, and bunting variations for different events.
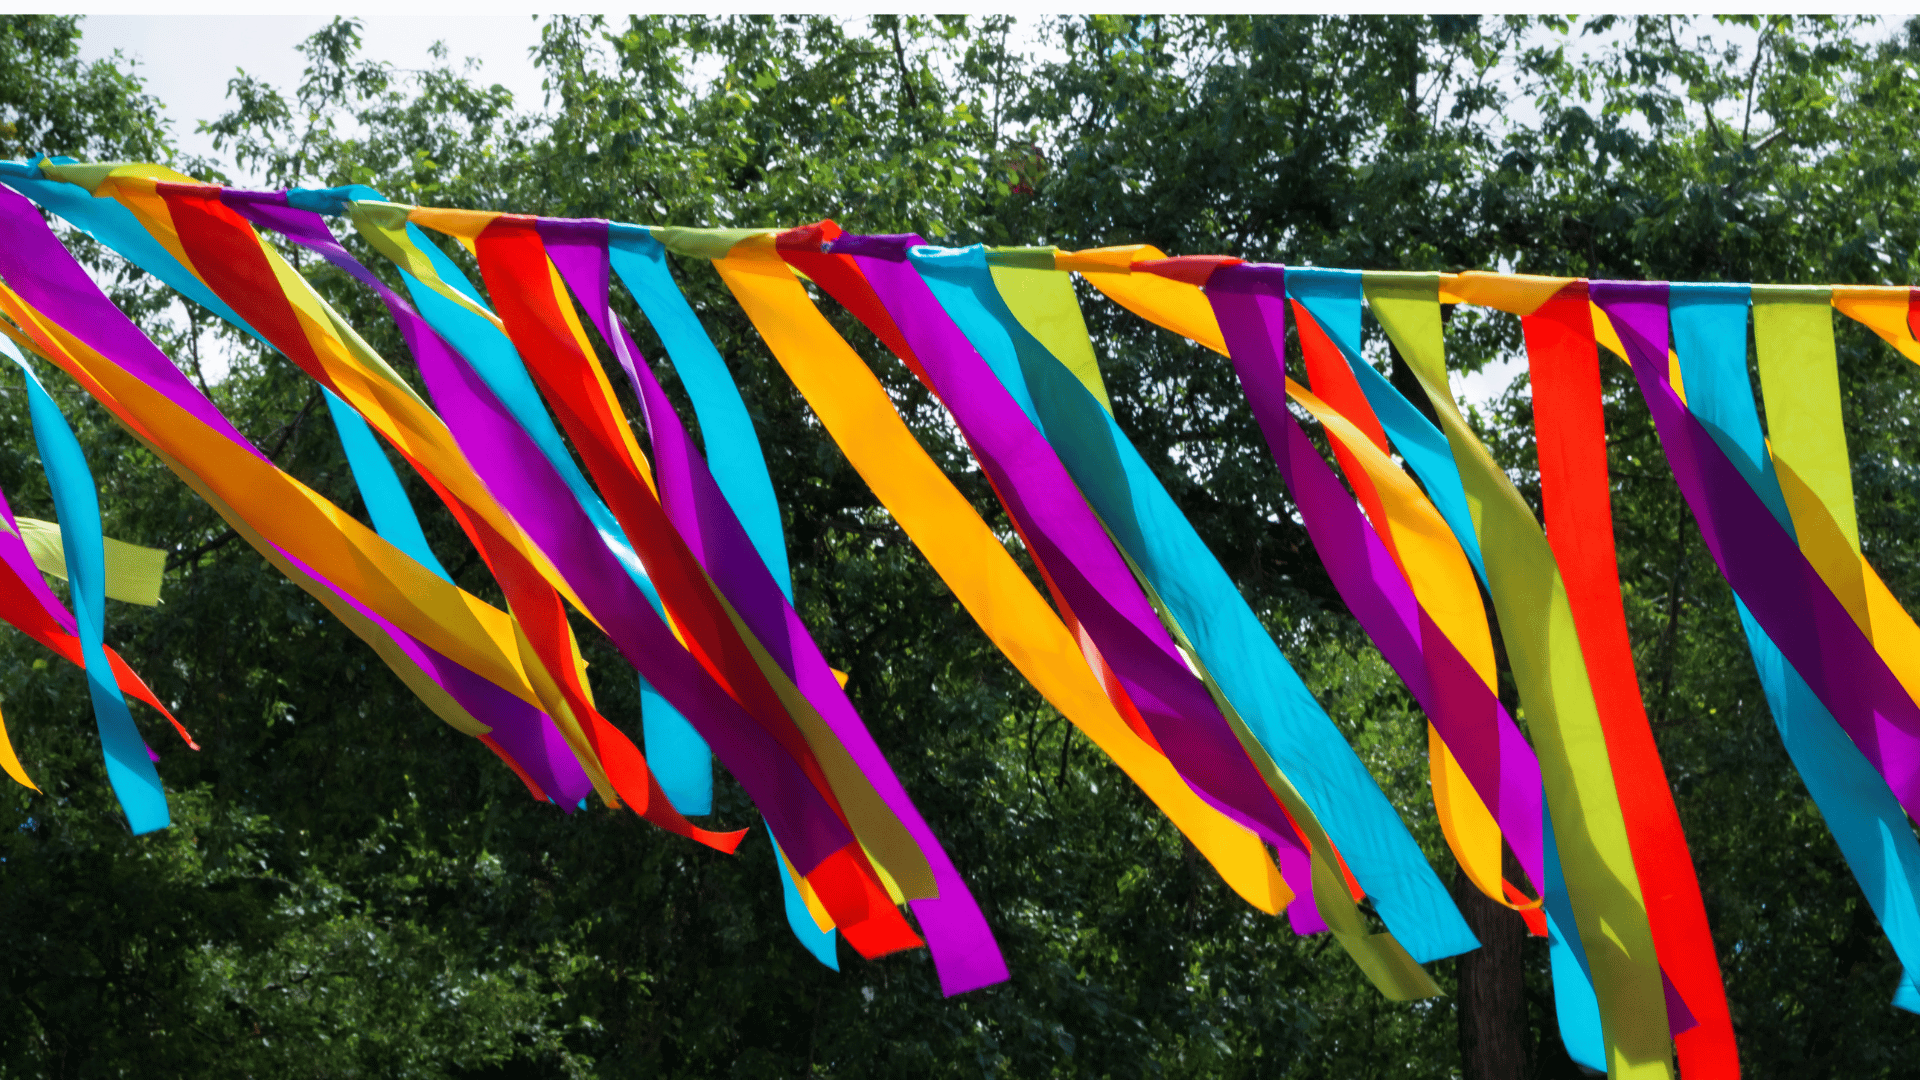
How to Make Basic Triangle Bunting
What You’ll Need:
- Cardboard
- Ruler or measuring tape
- Pencil or fabric chalk
- Scissors
- A selection of fabric (this will depend on the occasion and venue)
- Iron and ironing board
- Pins
- Sewing machine (although you can hand-sew if preferred)
- Matching thread
- Bias binding tape
Making basic bunting is quite straightforward. Here’s how:
Step 1: Create a Template
- Decide on the size of your bunting triangles. A common size is a triangle with a 20 cm width and a 30 cm height.
- Create a cardboard template using these measurements to ensure your triangles are the same size.
Step 2: Cut the Fabric
- Fold your fabric in half and place the template on top, with the top edge on the fold.
- Trace around the template with your pencil or fabric chalk.
- Cut out the triangles. When you open them, they will be diamond-shaped, ready to fold into triangles.
Step 3: Prepare the Triangles
- Fold the diamonds in half to create triangles, with the right sides of the fabric facing out.
- Iron the fold to create a sharp edge.
Step 4: Sew the Triangles
- Pin the open edges of the triangles to prepare them for sewing.
- Sew along the open edge and create a hem of around 1 cm. Leave the top (folded edge) unsewn.
Step 5: Prepare the Bias Binding
- Measure and cut your bias binding to the desired length of your bunting.
- Fold the bias binding in half lengthways and iron it to create a crease.
Step 6: Pin the Triangles in Place
- Open the bias binding and insert the top edge of a triangle into the fold.
- Pin the triangle in place, ensuring it's snug against the fold of the bias binding.
- Repeat this process for all your triangles, spacing them evenly along the bias binding.
Step 7: Sew the Bunting
- Start at one end of the bias binding and sew along the open edge, securing the triangles in the fold as you go.
- Continue sewing until you reach the other end of the bias binding.
- Backstitch at the beginning and end to reinforce the stitching.
Step 8: Finishing Touches
- Trim any loose threads.
- Iron the bunting one last time for a crisp finish.
How to Display Your Bunting
Here are some creative ideas on how you can display your bunting depending on the venue or setting:
Using Bunting Indoors
- Suspend your bunting in front of windows or over entryways for an inviting style statement.
- Use removable adhesive hooks to display it along walls or over cabinets
- Bunting lends a sweet touch over fireplace mantels or shelving.
- Decorate bannisters by winding around bunting garlands.
- For a more elaborate setup, crisscross bunting overhead in a lattice pattern.
Using Bunting Outdoors
- Hang bunting between trees to create a whimsical pathway or to frame a picnic area.
- Weave bunting through fence slats or hung along the top of a fence to add colour and interest.
- If you're using tents or marquees, use bunting to outline the structure's shape or hide poles and ropes.
Bunting Variations for Different Occasions
Once you've made your basic bunting, the fun part is customising it to suit different occasions. Here are some ideas:
Celebratory Birthday Bunting
For a birthday party, choose fabrics that match the event's colour scheme or the birthday boy/girl’s favourites. You could:
- Use multicoloured polka-dot or striped cotton for a playful, whimsical look.
- Make vibrant comic or superhero print buntings for kids’ or teens’ parties.
- Combine elegant gold and black solids or floral prints for classy adult birthdays.
You can also add letter flags spelling out ‘Happy Birthday’ or the birthday person’s name amidst the bunting. Felt letters stitched onto the front of the triangles work great.
Romantic Bunting for Weddings
Bunting is often used at wedding venues to add a soft, romantic touch. Some bunting ideas include:
- Use white or pastel fabrics like chiffon, lace, or satin.
- Incorporate wedding motifs like hearts, flowers, or doves.
- Add pearls, sequins, or beads for some subtle sparkle.
- Print or embroider names or monograms.
Rustic Burlap Bunting for Outdoor Events
Add natural warmth and effortless charm using burlap bunting. You can use it for rustic or outdoor events like:
- Garden parties
- Country-themed weddings
- Tea parties
- Country fairs
- Farmers markets
Make your triangles from burlap and use coarse twine instead of bias binding. Embellish it further by stitching on lace, pom poms made from yarn, or fabric rosettes.
Festive Christmas Bunting
Basic bunting can be transformed into a beautiful, custom Christmas decoration.
- Use fabrics in traditional Christmas colours like red and green or white, gold, and silver.
- Print or appliqué festive motifs like Christmas trees, holly leaves, and mistletoe.
- Accent with other embellishments like jingle bells, ribbons, or bows sewn onto the bunting flags.
Create Fun and Festive Bunting with I Want Fabric
Fabric bunting can instantly liven up any space. All you need is a little bit of sewing know-how, some creativity, and, of course, the right materials.
If you’re looking for a wide selection of affordable and gorgeous fabrics and crafting supplies, I Want Fabric is your one-stop shop. From playful prints and whimsical florals to rich velvets and timeless linens, you’re guaranteed to find the perfect bunting fabric.
With a creative vision and supplies from I Want Fabric, you can make beautiful, personalised bunting that works for any occasion!